Stuff White People Like glow in the dark t-shirt. Very meta.
(thanks Louise)
A collection of digital wonders and some other stuff.
Stuff White People Like glow in the dark t-shirt. Very meta.
(thanks Louise)
Inspired by Kristy (girlx512)’s tutorial, I’ve decided to make my own brief tutorial on how to make a multi-coloured screen printed t-shirt.
The supplies you will need include:
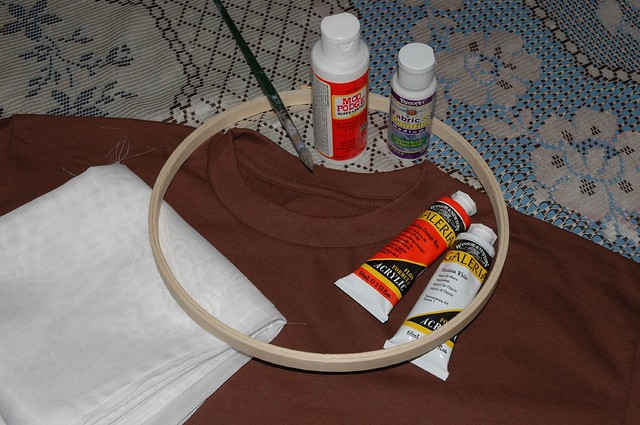
Directions:
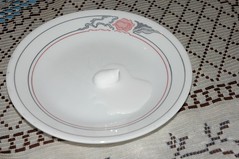
 I created my image in photoshop and printed it the size I wanted it to appear on the shirt.
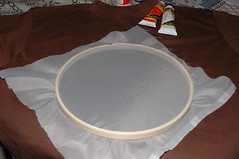 Stretch the sheer curtain into the embroidery hoop and tighten it. It should be as tight as you can make it without wrecking the hoop or tearing the fabric. The embroidery hoop can then be tightened to hold the screen in place.
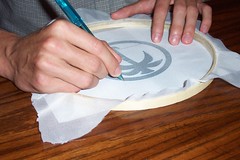
Using a pencil, pen, or felt, trace the image onto the screen. The outline should be clear so that you know where to fill in the glue. Accuracy becomes more important if you are adding more than one colour on your shirt.
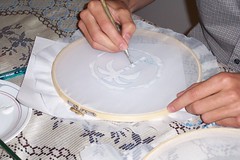 Mod Podge all the areas where you don’t want the first colour to go through. I used an old paint brush but spreading it using just your fingers works even though it takes longer to dry. Also remember, when you apply the Mod Podge, to avoid gluing it to your workspace the screen should not be touching anything. Flip it over so that the side with the sheer curtain is up. At this point you have the option to use tape or other adhesive materials to cover/clog the larger areas, but if you want to make more than one shirt with the same screen, it needs to be washable.
Since I didn’t have screen printing ink, I had to mix the acrylic paint with fabric medium. The type I used needs to be mixed in a 2 to 1 — paint to fabric medium — ratio, but read the label just in case. Think about how much paint you will need to cover the entire screen because if you don’t mix enough the first time, you may have to mix more and the consistency might change. I ended up having to mix more for this t-shirt but it turned out okay anyway.
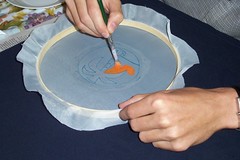
Make sure you remembered to pre-wash your shirt. It’s a waste of time, effort, and materials if the shirt shrinks after the screen printing is done. Position the embroidery hoop and screen against the shirt where you want the image to be printed. Once you have it placed in the correct spot, apply the paint by dabbing the brush up and down in a stippling motion. I put a piece of paper inside the shirt to prevent the paint from going onto the back side.
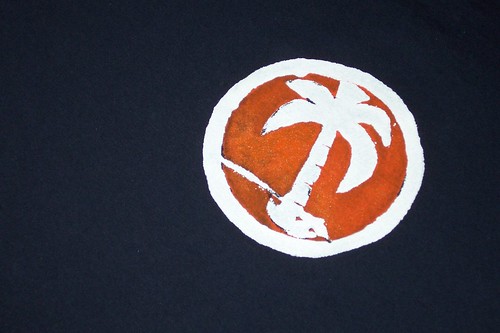
Here is the final look of the design:
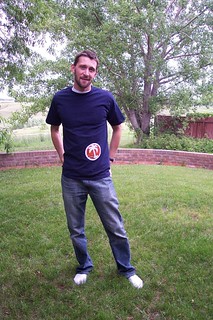
Here I am wearing my new t-shirt in my parents back yard. I couldn’t quite wait and as a result it was still a little wet when I put it on. I think if I were to make this shirt again, I would put the logo a little more to the wearer’s left. It seems a little too high and close to the centre for my liking.
Continue reading “Do It Yourself Silk Screening Tutorial”